Tin Puzzle Reflection
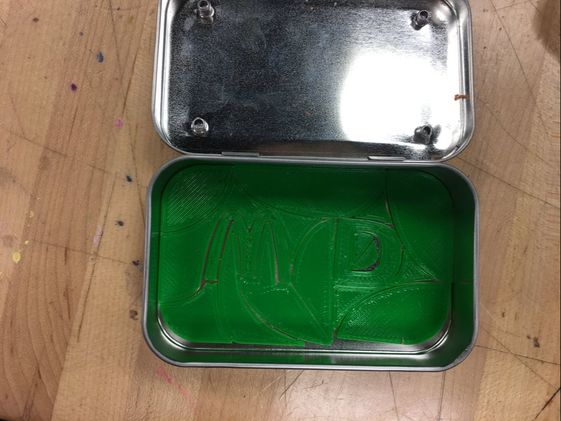
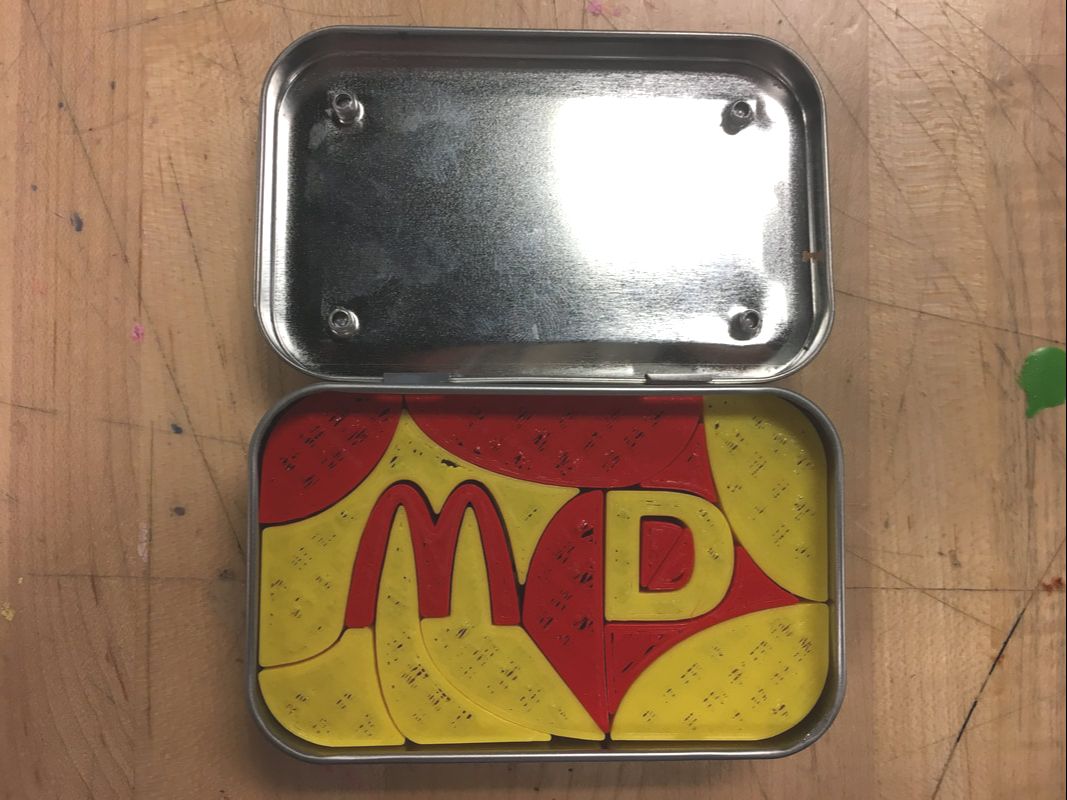
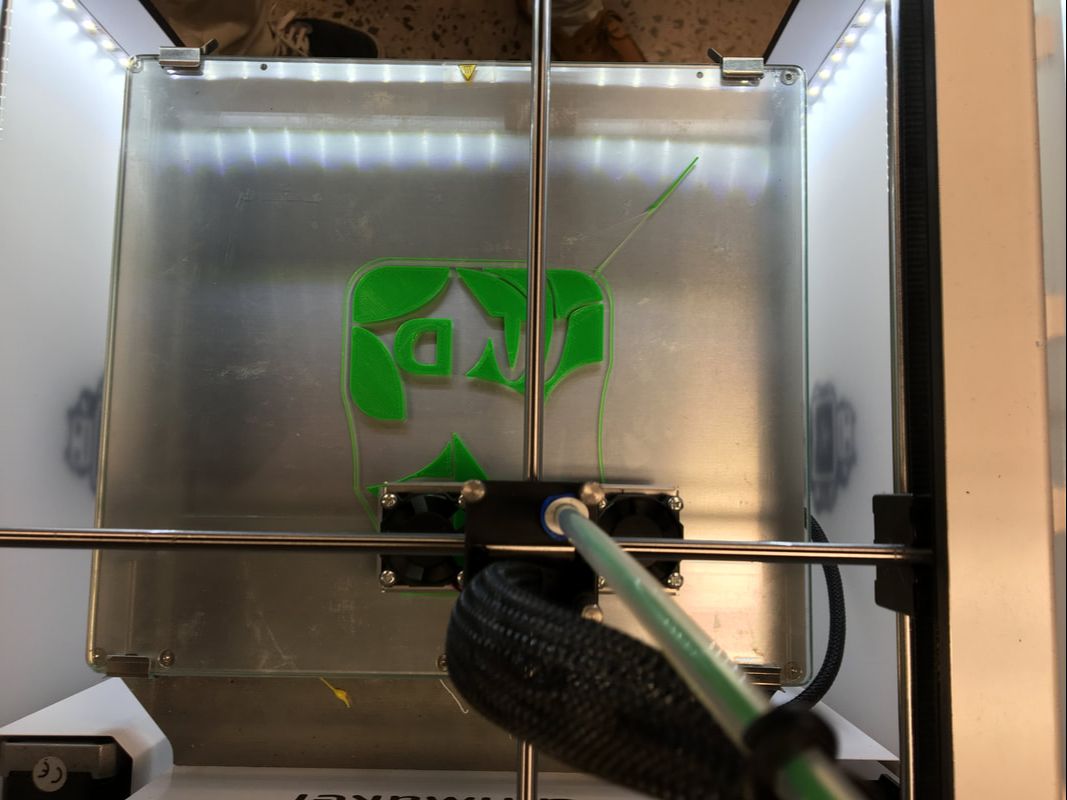
I finished printing all the components of my final puzzle design earlier this week. This time around, the print was much better fit to the Tin's inside than my prototype. Every single part of my 15 piece puzzle fits snug when put into my Tin. The only thing I changed between the time of printing the prototype and printing my final design is that I decided to scale down the tolerance in my design due to how loose it was the first time I printed. I added an additional 1.5 stroke to my prototype and then proceeded to print each color with a larger z axis than what I put my prototype at. Once printed, I realized how that the red and yellow combination in my design made my design pop out even more than it did in Illustrator. The only problem that arose with my final print is that the printer left some gaps on the top layer of the print, exposing the semi hollow inside of the pieces. Despite this, I am still very satisfied with how my final print came out.
Earlier Reflection:
My puzzle process began with a brainstorm for an idea. I was trying to think of a design that would match the goofiness of my tin since both projects would be used simultaneously. My final design was a McDonalds "M" followed by the letter "D." This does not, however, stand for "McDonalds." Don't worry. I am not that American. It actually stands for "McDanks," another type of rowing lingo that has been coined by "Fat Ergos." I began the process by scaling the tin bottom so it would roughly match the inside of the tin in Illustrator. I then locked the layer and began to make my puzzle pieces surrounding letters that had been rasterized, traced as a vector, and then expanded. I used the line tool to make curved and straight lines to separate the puzzle pieces. These lines, I realized later, had too big of a stroke so the tolerance was too big. This is one of the issues I had later due to how much space I had in between each piece. Once I finished my design, I brought it into Tinkercad and exported each group of pieces as two STL files. In order to have two different colors in your final puzzle, you must do this. I then loaded both STLs into Cura, where I would fit it to the designated x and y axis I got from my original Illustrator file as well as the z axis which needed to be put to 1 mm for my prototype. After printing, I put the puzzle together in my tin and realized I was ready to create my final print which will be printed in the near future.

|
|