OnShape Rocket Reflection:
Whilst designing/building my OnShape fuselage, I had to routinely educate myself further on on what each tools do. I'm a lot more experienced with OpenSCAD, so I tried to incorporate my knowledge from there into OnShape. I realized that a lot of the tools in OnShape were similar to the commands in OpenSCAD which allowed me to advance quickly in the first half of the tutorial (i.e. extrude vs linear_extrusion). However, I made a mistake somewhere in my process and now my tether-holder seems to be extruding into the filetted piece of my fuselage, pictured below. I'm not completely done with my fuselage, and I am still trying figure out the problem mentioned before by troubleshooting each step in the tutorial.

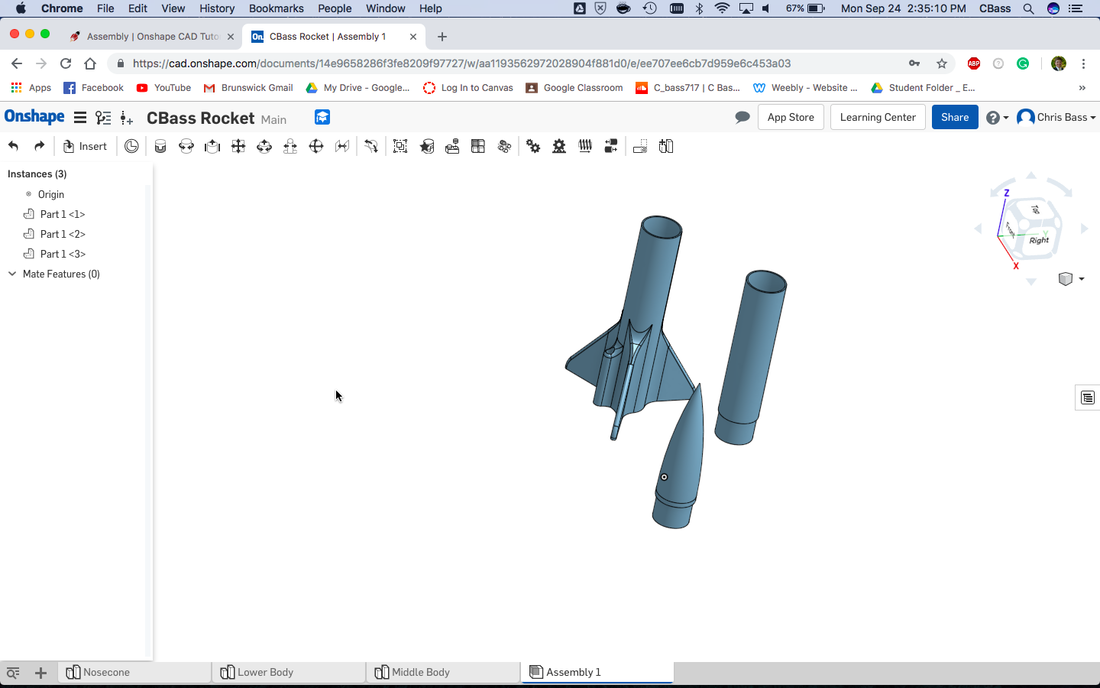
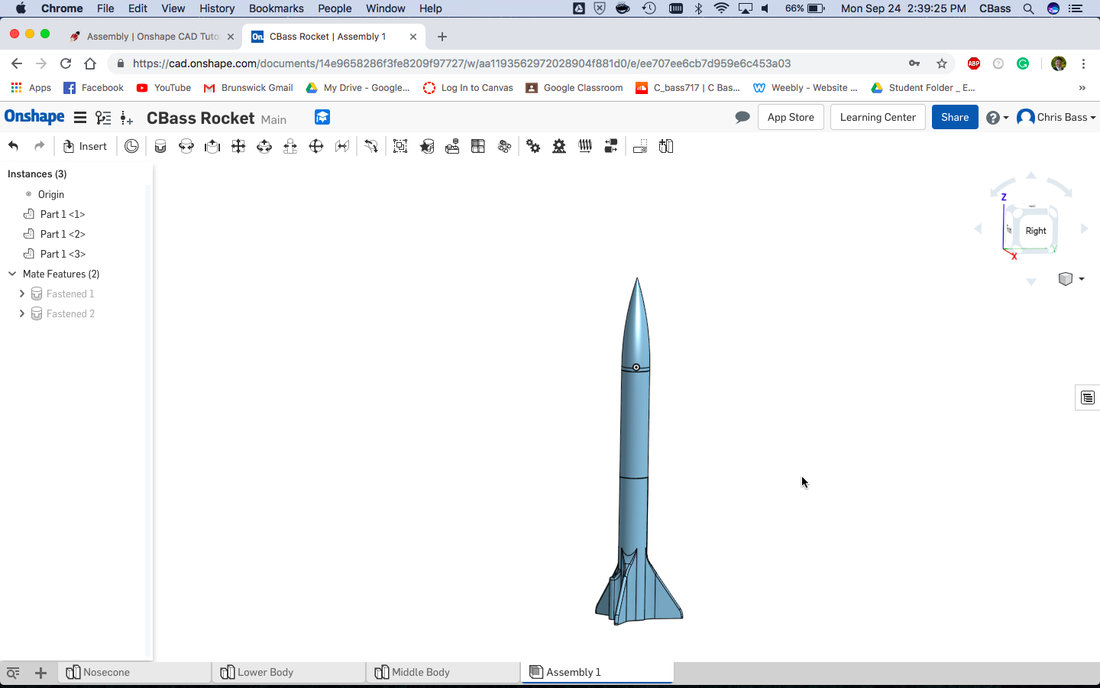
After spending a couple classes troubleshooting my OnShape fuselage, I decided that the most time efficient option I had was to start from scratch and design the fuselage all over again. This time it worked. Below are the three components of the rocket: the nosecone, fuselage, and fins. At this point, I exported each component as individual .STL files, which are able to be uploaded to Ultimaker Cura.
|
|
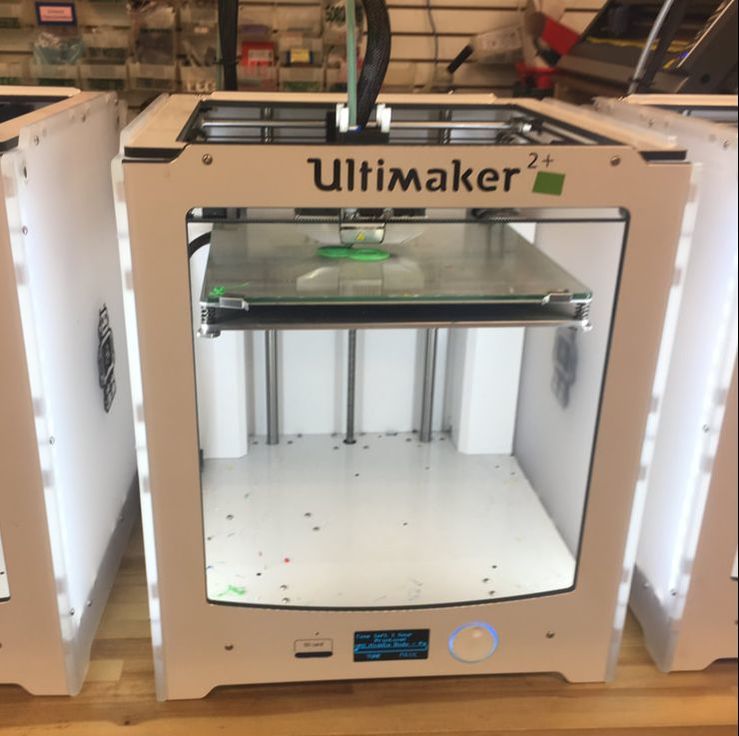
Cura was running extra slow this day, so I decided to redownload the application as well as update the software. After Cura spat out all my .gcode's for each component, I loaded it up onto the 3D printers.
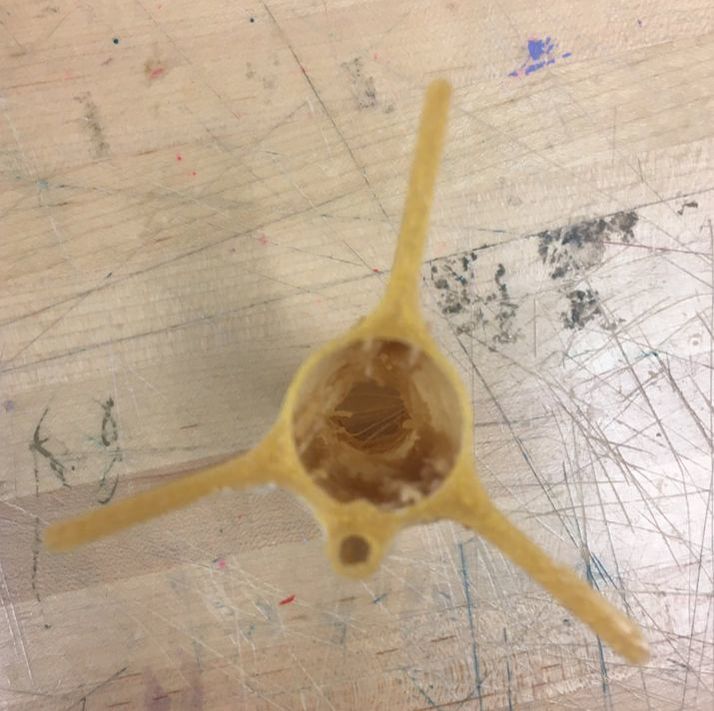
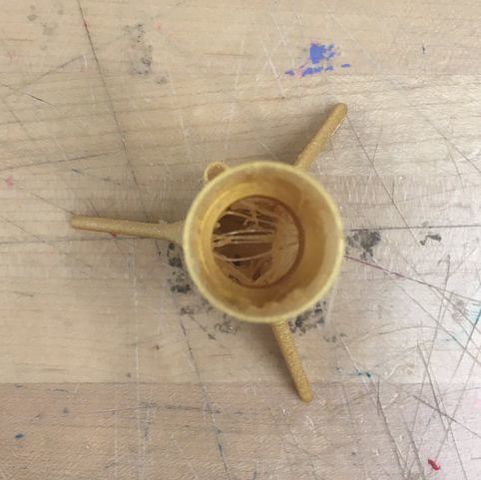
Luckily, all three of my components came out adequately printed. Compared to my peers, I had minimal stringing on my print, and two of my joints naturally fit together with the recommended tightness. I did, however, have to file down much of the stringing that occurred inside of both the lower body and fuselage. This turned out to be very meticulous, for I had to get rid of the stringing while making sure I didn't take away too much which would loosen the joints. Below is a picture of what the stringing inside the lower body looked like.
|
|
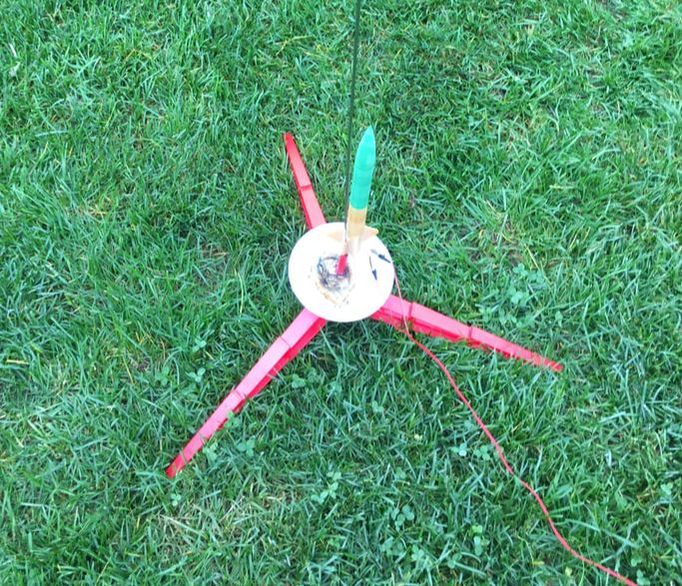
After everyone in our class had produced an acceptable model of the rocket, we started to load in the engines and parachutes, which was just a small piece of fabric to create drag, not a real parachute. We were instructed to file inside the hole where the guide pole would be mounted so that their would be minimal friction between the two surfaces. I finished quickly so I decided to make a couple useless innovations to my design, including sanding down the nosecone until it was sharp to the touch. This would, in my imagination, allow my rocket to slice through the air, and ultimately reach the outer edge of the troposphere. Of course, this most certainly did happen. Unfortunately, the camera I had set up to film my rocket's launch turned out to be out of focus, so the video only shows the outline of vaguely rocket-like shapes. Nevertheless, I filmed a video of my friends rocket being shot off and it's basically the same video I would've obtained if it were my rocket. All in all, I enjoyed this project and it was a good introduction into OnShape.
URL to Video: https://drive.google.com/file/d/1Mo7ZfLfCDsDMQoAwDX1P37NpXGnDnqxf/view?usp=sharing
